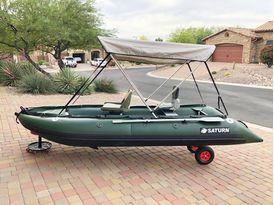
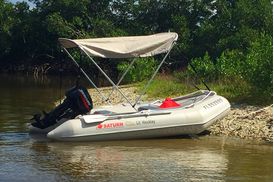
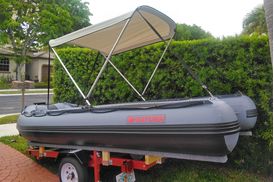
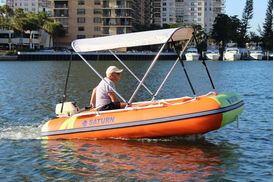
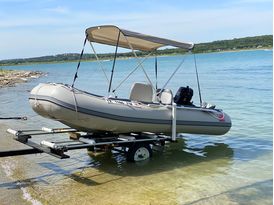
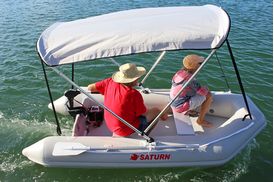
Deluxe Folding 2-Bow Sun Canopy Bimini With Removable Sides
This sun canopy top is best if you inflate/deflate boat for every use. It can be quickly disassembled and stored in a bag.
- Deluxe: 80" long x 60" wide x 46" high. Fit distance from 52" to 70" between attachment points.
- Larger than regular 2 bow bimini top.
- This bimini come with 2 Velcro detachable sides, for better Sun and elements protection.
- Sides can be removed or rolled up and secured.
- Will fit MOST boats. Will fit KaBoats and kayaks with DIY modifications outlined below.
- IMPORTANT: Download Assembly Manual below. Measure your boat BEFORE ordering. Please READ all descriptions.
Protect yourself from heat and rain with our Deluxe 2-bow sun canopy. Fits on most inflatable boats. This type of canopy is best if you inflate and deflate boat every time its used.
No need to use screws. Easy assembly with pushpin. Breaks down into storage bag for easy storage and portable transportation. Folding Deluxe Sun/Rain Canopies come in light gray color and very easy to install. It keeps you cool and protected from the harmful UV rays of the sun and unexpected rain. The 600 deniers PVC Coated polyester canopy and folding aluminum tubing. Fits many sizes of boats with pined oarlocks, splash guards or hugging rope holders.
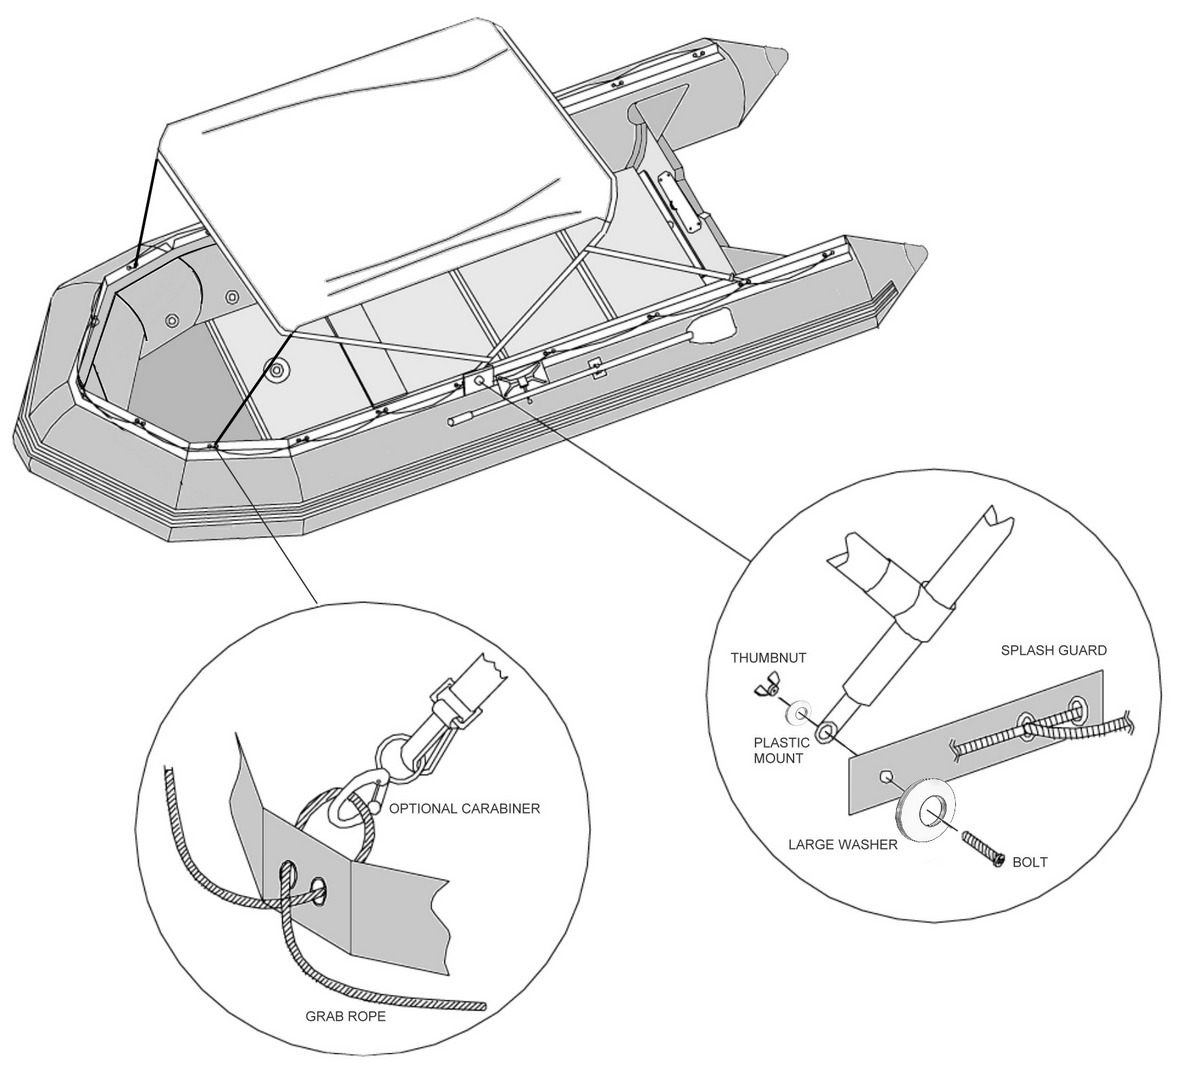
2-bow canopy has two support poles on each side which form a V, and anchors to the oar locks with provided clips, or splash guard grommets near the center of the boat. The 2-bow canopy is held in place by 4 bow lines, two center brackets, and two stern lines. Support poles has some flex to it, and can be pushed up to several inches inward or outward during installation.
2 Bow bimini top can be also installed on more narrow boats, such as KaBoats and even kayaks with some DIY modifications. To make this top more narrow, simply cut top tubes shorter on one or both sides, and re-drill new holes for pushpins. It is easy, 5 minutes DIY project. Just need hacksaw and electric drill. See Assembly Steps below for details.
- Question: What is difference between regular 2 bow bimini shade and another 4 bow available?
- Answer: This 2 bow bimini shade is smaller than 4 bow, has only 2 bows to support fabric top, can fit on almost all boats, KaBoats and even kayaks with some DIY modifications. 2 bow bimini shade can be folded down toward transom and placed on rear tubes. 2 bow bimini can be easily disassembled after use and stored into a carry bag. Bottom supports of 2 bow bimini can be pushed together as close as 47" between installation points. Top tubes can be cut shorter, to fit even more narrow attachment points.
- Question: What is difference between regular and deluxe 2 bow bimini?
- Answer: Deluxe 2 bow bimini longer and wider than regular. Deluxe version also comes with 2 free removable sides, to offer additional protection against side Sun rays and lashing rains.
Folding 2-Bow Sun Shade Top Specifications:
- Installs easily with snap pushpins.
- Protects from heat and rain.
- Rugged, waterproof reinforced canopy top.
- 1" anodized aluminum frame with stainless steel screws.
- Make your boat look really cool and sporty.
- Can be used while riding boat.
- All necessary hardware is included.
- Shipping size: 35 x 14.5 x 3"
- Glue-on mounting patches included.
- Bonus: storage boot included!
- Bonus: carry bag included!
- Deluxe Canopy comes with FREE side panels.
- Download Assembly Steps (PDF)
- Download Assembly Steps (JPG)
- Download How to Make More Narrow (JPG)
2-bow canopy installation suggestion:
- Bimini may be attached directly to the grommets that are installed into splash guard on top of the boat tubes.
- Plastic cable ties can be run through the support pole holes and grommets in the splash guard or optional wing nut bolts can be used for quick disconnect.
- Four straps can also be secured to grommets in a same manner.
- Properly adjusted tension of strap lines will hold the canopy vertically in place.
- To fold canopy down, simply unlock straps in front or in rear and fold canopy down.
- Canopy support poles can also be mounted on top of tubes with provided glue-on patches.
- If no attachment places are available at all, then D-rings need to be glued on top of tubes in order to provide attachment points.
- To make installation easier on a more narrow boat, push one end of support poles against some object, and then push on another end of pole, to bring it to desirable distance, then use rope to tighten both poles together. Install bimini and then remove rope
PLEASE NOTE: Canopy comes with standard hardware for installation on fiberglass or aluminum boat. When installing on inflatable boat, some of these hardware can be discarded. Canopy support poles can be installed directly on oarlocks. To fit over pin of oarlock, holes on plastic mounting jaws need to be enlarged or drilled directly into aluminum.
Rowing oars can be placed on top of oarlocks and fastened with a rubber cord. If you need to use oars, just fold the canopy toward the bow, unscrew the pins and remove the poles from oarlocks. Move the folded canopy a couple of inches toward the bow and install oars onto the pins of oar locks.
FAQ:
Question: Just opened box, and bimini top looks wider than my boat. Is this bimini too wide?
Answer: Once bimini fully assembled, with support poles installed, there will be some flex to the ends of support poles. Ends of supports poles can be pushed together or pull apart to fit distances between attachment points, as outlined in description at the top of this web page. In most cases, bimini support poles can be attached with bolts or Zip ties directly to grommets on a splash guards of Saturn boats, or side D-rings, if splash guards are not there. Mounting pads can also be glued to the top of tubes as installation option. If support poles are too far apart, first attach one side, then push other pole to reach to install point, and secure it with Zip ties or bolt. Alternative option, is to secure both ends of support pole with a piece of rope, to push closer together. Then cut rope away once both support poles secured to boat tubes. Pulling apart on splash guards will not damage them. In addition, 2 bow bimini can be made more narrow by easy DIY procedure, as outlined in manual. Download DIY instructions for bimini - How to Make More Narrow (JPG)

|

|
If pinned oarlocks are not available, as in SD430 or SD470 for example, then aluminium support poles of 4-bow canopies may be attached directly to the splash guard protectors on top of the boat tubes. Plastic ties can be run through the support pole holes and rope holes in the splash guard. Properly adjusted lines will hold the canopy in place. Click on pictures below to zoom in.

|

|
If no points to attach support poles to top of tubes inflatable boat are available, then D-rings or some other grab-on contraption need to be glued.
Bimini attachment suggestion. Click to zoom in.
No posts found

