An Inflatable Boat Owner Do-It-Yourself Project: The Fishing Rod Rack
When looking at the features of inflatable boats, some obvious things jump right out at you. Their cost, for one, is much lower than that of comparable hard hull boats. The ease of inflating and deflating these boats makes them incredibly easy to move from place to place. And their ability to be rolled up and stored in small spaces is a convenience that can save you a ton of money on things like storage. Add all this to their high-level performance out on the water, and inflatable boats are a style of watercraft that deserves to be highly considered when shopping for a new boat.
When I was searching for the next boat I wanted to purchase, I looked carefully at all of the above factors. But as someone who takes pride and joy in being a do-it-yourselfer, there was another factor that was important to me. This was versatility. What I wanted was a watercraft that I could adapt and use for many things. And I wanted to do the adapting myself. So after searching around for awhile, I settled on an inflatable boat that I thought would be perfect.
Project #1: The Fishing Rod Rack
I am an avid fisherman who spends a lot of time out on the water. And because of this, I wanted to make some personal additions to my new inflatable boat that would make fishing even more convenient. I am also someone who likes their space neat and organized. Combining these two things together, I figured that the ultimate first DIY project for my inflatable boat would be a fishing rod rack. I knew this was a safe project that I could tackle by myself. So that’s what I did.
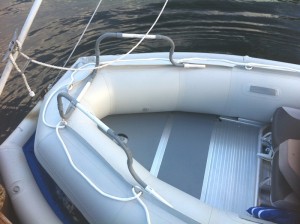
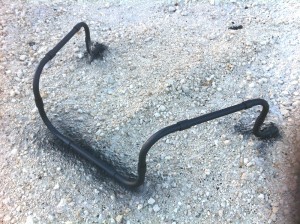
The first step in making my new fishing rod rack was figuring out what materials to use for the structure itself. To me, whatever I chose would need to be able to handle all weather, be easy to work with, and be very affordable. After strolling through my local Home Depot (and who doesn’t love doing that?!), I settled on 1” PVC plumbing pipe for my project. I had already taken measurements from the front of the boat where I wanted to mount it, so I knew just how much to buy. I also purchased the other materials I would need, namely a few cable ties and a can of black spray paint. The spray paint is optional, but if I am going to spend time to build something like this, I always like to make it look as slick as possible. Painting it to match your boat is an easy way to do this.
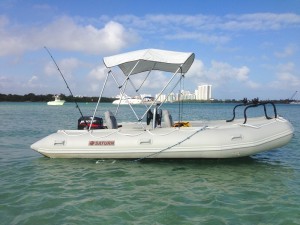
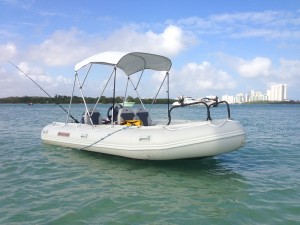
When I got back home, I cut the PVC pipe into the size I wanted. I then glued the pieces together into the size and shape that I measured. Honestly, it was that simple! Once my new fishing rod rack had time to dry, I took it out to where I had my boat. Now it was time to mount it. I know this seems like the hard part, but with the design of these inflatable boats, there actually is no hard part. All I had to do was set my new rack where I wanted it, attach it to the boat’s splash guard with the cable ties I bought, and I had a brand new rack hold all my fishing rods. And man, did it look great! So what’s the next step? Simple, it’s deciding on the next do-it-yourself project for my inflatable boat.


